We can't find the internet
Attempting to reconnect
Something went wrong!
Attempting to reconnect
Zero-to-Production: Deploying Phoenix to Hetzner with Docker, GitHub Actions, and Caddy
Deploy an Elixir/Phoenix application to a Hetzner VPS with Docker, GitHub Actions CI/CD, and Caddy for automatic SSL — no complex PaaS required.
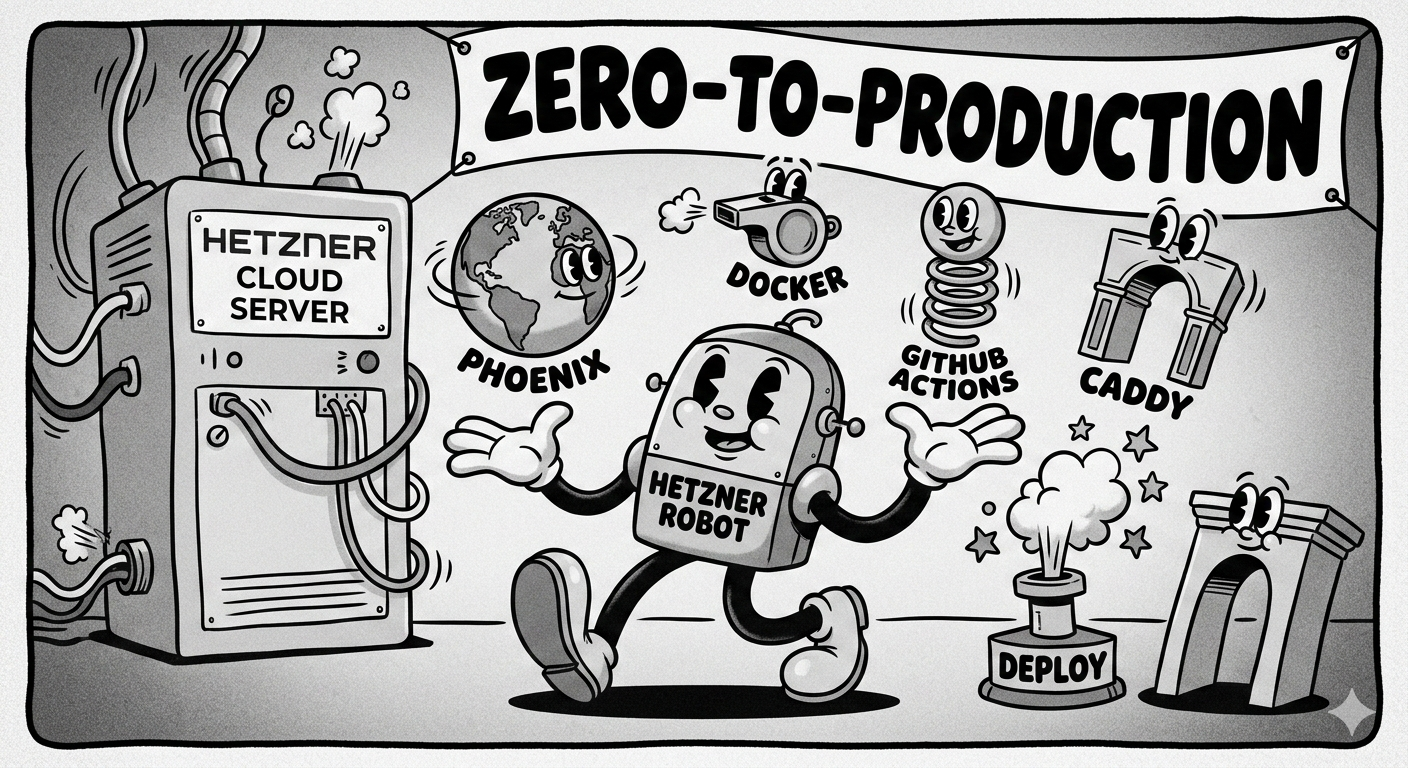
Deploying an Elixir/Phoenix application doesn’t require a complex PaaS. With a single Hetzner VPS, Docker, and GitHub Actions, you can build a professional-grade CI/CD pipeline that handles automatic deployments and SSL certificates.
1. Prepare the Phoenix Application
Phoenix comes with excellent built-in support for releases. Start by generating your deployment configuration:
mix phx.gen.release --dockerThe “SSL Verification” Fix
Standard slim Docker images often lack the certificates needed to download assets (like Tailwind) during the build. Modify your generated Dockerfile to include ca-certificates:
# Inside the build stage
RUN apt-get update -y && apt-get install -y build-essential git \
    ca-certificates curl && apt-get clean && rm -f /var/lib/apt/lists/*
2. Set Up the Gateway (Caddy & SSL)
Instead of manually managing Nginx and Certbot, we use Caddy. It handles Let’s Encrypt SSL certificates automatically.
On your Hetzner server, create a Caddyfile:
imorphr.com, www.imorphr.com {
    reverse_proxy app:4000
}
3. The Orchestration: Docker Compose
On your VPS, create a directory (e.g., /home/user/app) and add a docker-compose.yml. This connects your Phoenix app to the Caddy proxy.
services:
  app:
    image: ghcr.io/your-org/your-repo:latest
    restart: always
    env_file: .env
    expose:
      - "4000"

  caddy:
    image: caddy:2-alpine
    restart: always
    ports:
      - "80:80"
      - "443:443"
    volumes:
      - ./Caddyfile:/etc/caddy/Caddyfile
      - caddy_data:/data
      - caddy_config:/config
    depends_on:
      - app

volumes:
  caddy_data:
  caddy_config:
4. Automate with GitHub Actions
We use GitHub Container Registry (GHCR) to store our images and GitHub Actions to push them to the server.
Permissions for Organizations
If you are using an Organization repo, ensure your workflow has write access to packages:
permissions:
  contents: read
  packages: write
The Deployment Workflow
Create .github/workflows/deploy.yml:
- Build: Compiles the app and pushes the image to GHCR.
- Deploy: SSHs into Hetzner, pulls the new image, and restarts the container.
Note: Use
docker compose(for V2) ordocker-compose(for V1) depending on your server version. If you seeunknown command: docker compose, install thedocker-compose-pluginon your VPS.
5. DNS and Firewall Setup
To make the site live, point your domain to the server and open the gates.
-
DNS: Add an A Record pointing
@to your Hetzner IPv4. - Hetzner Firewall: Ensure Ports 80 (HTTP) and 443 (HTTPS) are open. Caddy needs Port 80 to complete the Let’s Encrypt “handshake.”
6. Troubleshooting Common Pitfalls
The “Hyphen of Doom”
If your script fails with unknown command: docker compose, your server likely has the older Docker Compose V1. You can fix this by updating your server:
sudo apt-get install docker-compose-pluginPermission Denied (Docker Socket)
If GitHub Actions can’t connect to the Docker daemon, add your SSH user to the docker group on the VPS:
sudo usermod -aG docker $USERSSL Certificate Errors
If you see ERR_CERT_COMMON_NAME_INVALID, check your Caddy logs (docker compose logs caddy). It usually means Port 80 is blocked by a firewall or your DNS hasn’t fully propagated yet.
Conclusion
You now have a production-ready Elixir environment. Every push to main will build a slim, secure Docker image and deploy it to your Hetzner VPS with zero downtime and automatic SSL.